

A bottle cap torque value is the only objective proof that a glass bottle will not leak in transit. Torque is the rotational force used to tighten or loosen a closure, and on glass packaging it is the single variable that most often separates a clean shipment from a claim for leaking perfume, oil or nail polish. This guide explains which torque value to write on your specification, how to verify it with a torque tester, and which leak tests catch a bad seal before you fill 10,000 units.
The short answer: a glass bottle is correctly capped when removal torque measures 40–60% of the application torque written in the closure specification — not when the cap simply feels tight. On a 20 mm neck that usually means 8–12 in-lb applied and roughly 4–7 in-lb to open. Generic charts are a starting point only; your closure supplier’s number always wins.

What Is Bottle Cap Torque? Application Torque vs Removal Torque
Bottle cap torque is measured twice, and confusing the two numbers is the most common reason a specification fails at the filling line. Application torque is the force the capping head applies to seat the closure. Removal torque is the force a user needs to break the closure free. Both are expressed in inch-pounds (in-lb) or in Newton-metres, and both are always written as a range, never as a single target.
The two values are linked, which is what makes bottle cap torque auditable on a filled bottle in seconds: a capping machine cannot be dialled directly to an output torque, so packagers apply a known torque by hand, measure what it takes to remove that cap, and then adjust the machine until production caps land inside the same removal band. That correlation method was standardised as the Method of Test for Closure Torque (Technical Bulletin PBI 7) by the Plastic Bottle Institute of the Society of the Plastics Industry, and it is still the basis of line calibration today — see the Kinex application torque guidelines for the full procedure.
Glass changes the physics in one important way. A plastic bottle shoulder flexes and absorbs part of the closing force; glass does not move at all. Every micron of compliance has to come from the liner and from the accuracy of the neck finish, so the same nominal torque on a glass bottle produces a less forgiving seal than on PET. That is why bottle cap torque on glass is validated empirically for every neck finish, and why a glass specification needs a torque window plus a neck-finish drawing while a plastic specification can often survive with torque alone.
Three numbers worth memorising
- 40–60% — removal torque as a share of application torque, per the Closure Manufacturers Association chart published by Drug Plastics.
- ≈50% — the industry rule of thumb: application torque in in-lb is roughly half the closure diameter in millimetres.
- 10 — the number of hand-applied trials recommended when correlating application torque to removal torque before touching the capping machine.
Why Glass Bottle Caps Leak or Back Off: 5 Root Causes
Almost every leakage complaint we investigate traces back to one of five causes, and four of them surface first as a bottle cap torque problem. Ranked by how often they appear in real claims:
- Under-torque at the capper. Insufficient application torque is the number one reason for failed induction seals, according to Enercon’s sealing library. The cap looks seated, the liner is barely compressed, and the seal relies on hope.
- Wrong liner for the formula. A liner that swells in fragrance alcohol or migrates in essential-oil terpenes loses compression set within weeks. Torque was correct on day one and irrelevant by week four.
- Neck finish variation. Thread start position, thread depth and the T and E dimensions vary slightly from mould to mould. A cap that seals on one cavity can spin loose on another at identical torque.
- Product on the threads. A film of oil or alcohol acts as a lubricant, so the cap reaches its torque reading while sitting fractionally higher, then backs off as the film drains away.
- Thermal and pressure cycling in transit. Air freight and summer containers push internal pressure up and down; a marginal torque becomes a leak. Over-torque is the mirror failure: distorted caps, cracked necks on thin-wall bottles, and consumers who cannot open the product.
Bottle Cap Torque Specification by Closure Diameter
Use the table below as a reference band for bottle cap torque only. It is the general guideline chart republished by Kinex and Enercon, and the sources do not agree on every row — 43 mm appears as 17–27 in-lb in one chart and 18–27 in-lb in another. That discrepancy is the point: a general chart is a sanity check, not a specification.
| Closure diameter (mm) | Reference application torque (in-lb) | Typical glass packaging use |
|---|---|---|
| 13–15 | 5–9 | Sample vials, roller-ball inserts |
| 18 | 7–10 | Nail polish, small droppers |
| 20 | 8–12 | 5–15 ml perfume, serum |
| 24 | 10–18 | 30 ml dropper and pump bottles |
| 28 | 12–21 | 50 ml perfume, 100 ml lotion |
| 33 | 15–25 | 100 ml fragrance, diffuser refills |
| 38 | 17–26 | Wide-mouth oils, candle-style jars |
| 43 | 17–27 | Body-care bottles, large diffusers |
| 48 | 19–30 | Wide diffuser and home-fragrance bottles |
Kinex documents a 38-430 closure specified by its maker at 27–33 in-lb, while the same general chart lists 17–26 in-lb for a 38 mm cap. Following the chart instead of the closure supplier would have left the packager under-torqued across the entire production run.
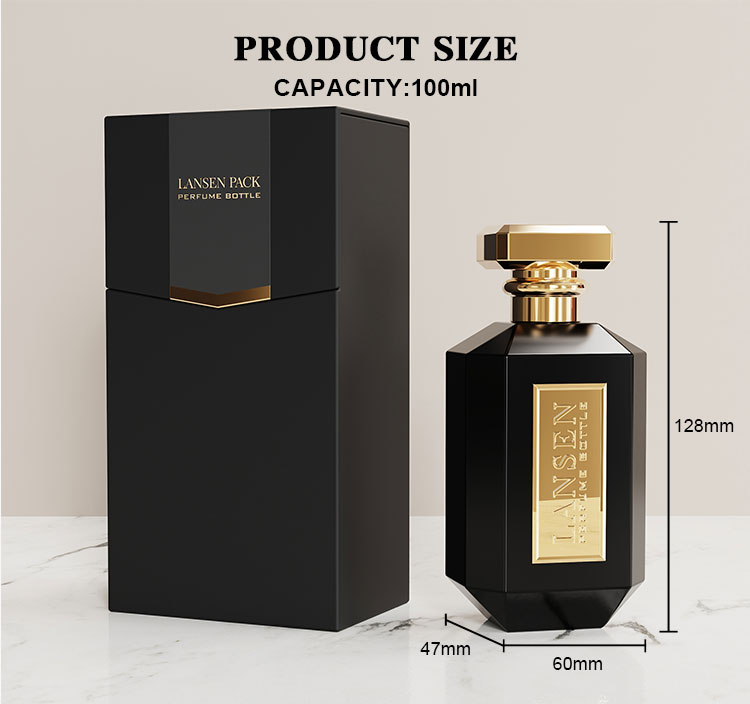
For crimped perfume pumps, bottle cap torque does not apply at all — the seal is created by crimp height and diameter, so those closures need a crimp specification instead. If your project mixes screw caps and crimped pumps, keep the two specifications separate rather than trying to average them; our custom perfume bottles are quoted with the matching closure option for exactly this reason.
How to Set and Verify Bottle Cap Torque on the Line
Setting bottle cap torque takes about an hour of disciplined work. The sequence below follows the industry correlation method and is what we recommend to any brand moving from samples to mass production.
- Get the number from the closure supplier. Ask for the bottle cap torque range (application torque) for your exact cap, liner and neck finish combination — not for the cap size.
- Use fresh caps and filled bottles. Reused caps and empty bottles give inaccurate readings, and the test should always run with production product inside.
- Apply by hand to the low end of the range. Clamp the bottle in a bottle cap torque tester, tighten slowly and evenly to the low value, then remove slowly until the cap breaks free. Record both numbers. Repeat for the high end of the range.
- Run ten trials per value. Consistency matters more than precision: same speed, same technique, every trial.
- Build your removal window. In the published 28 mm example, an application range of 13.0–17.0 in-lb correlated to a removal range of 8.6–12.5 in-lb. Your window will differ; derive it, do not copy it.
- Adjust the capper until production caps land in that window, then measure every head separately. Multi-head machines routinely differ head to head.
- Re-check after 24 hours. Liner relaxation means removal torque drifts down after capping; what matters is where it settles, not the reading taken 30 seconds after the cap goes on.
Samples and mass production are not the same measurement. If your neck finish changes between the sample mould and the production mould, the torque window has to be re-validated — the glass bottle customization service covers this hand-over, and it is worth confirming in writing before tooling is cut.
Bottle Leak Test: 3 Checks Before Bulk Production
Bottle cap torque is only a proxy. The leak test is the verdict, and it should run on filled, capped, decorated bottles rather than on empty ones. Three checks cover most cosmetic and fragrance risks:
- Torque audit during the run. Sample capped units at a fixed interval, measure removal torque, and plot the readings against your window. A drift inside a single shift usually means a worn chuck, a liner batch change or product build-up on the threads.
- Pressure or vacuum leak test. Filled bottles go into a chamber, the pressure differential is applied, and any leak shows as a pressure decay or as bubbles when the unit is submerged. This is the fastest way to catch a cap that is tight but not sealed.
- Transit simulation. Invert the cartons for a defined soak period, then run the parcel test that matches your channel — ISTA 3A for e-commerce parcels, a container-specific protocol for sea freight — and inspect for wicking at the liner, staining on the divider and torque loss after the run.
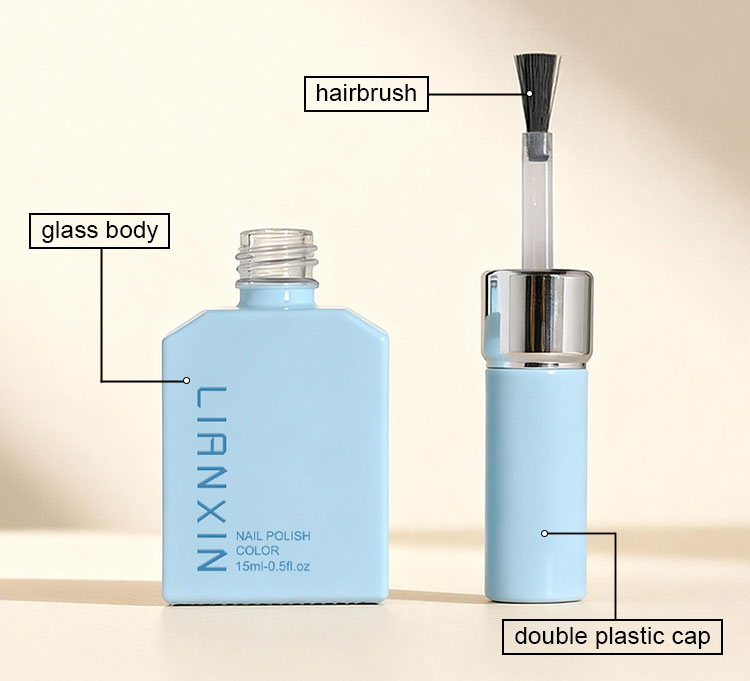
The same logic applies across the product range: alcohol-based fragrance in a perfume bottle, viscous oil in an essential oil bottle and solvent-heavy lacquer in a nail polish bottle all need different liner materials at similar torque values. Torque alone will not save a mismatched liner.
What to Write in the Torque Clause of Your Spec
A bottle cap torque value without a method is not a specification. Six items turn it into one:
| Item | What to state |
|---|---|
| Application torque | Range in in-lb, sourced from the closure supplier |
| Removal torque | Derived range, typically 40–60% of application torque |
| Method and instrument | Correlation method (PBI 7) with a calibrated torque tester; calibration traceable under ISO 17025 |
| Sample plan | Units per shift, units per head, and the AQL rule applied to sealing defects |
| Neck finish drawing | Thread and sealing-land tolerances referenced to the bottle drawing |
| Liner specification | Material, thickness and compression range — not just “PE liner” |
Reference the recognised test standards by name so a third-party lab can reproduce your result: ASTM D7860 covers torque retention for continuous-thread closures, ASTM D3474 covers torque meter calibration, and both are summarised alongside FDA and ISO requirements in this cap torque testing standards overview.
Getting the Seal Right the First Time
Bottle cap torque is cheap to control and expensive to ignore: one hour of correlation testing on the line protects a full production run, a marketplace rating and a retail listing. Write the application range, derive the removal range, sample every head, and leak-test filled bottles before the container ships — in that order.
If you are specifying a new glass bottle and closure combination, send us the formula and the fill volume and we will quote the neck finish, closure and recommended bottle cap torque window together, so the number on the spec sheet matches the number on your capping head.