Embossed glass bottles form their logo inside the steel mold, so the mark is permanent glass instead of ink, foil or film — and it is paid once in tooling.
That single distinction drives the whole brief. A logo or crest is cut into the mold cavity as a negative, so the relief has to be confirmed before any steel is engraved, it cannot be retouched or upgraded after the fact, and its cost sits in tooling rather than in the piece price. This guide covers how the relief is formed, what custom embossing changes in mold cost, MOQ and lead time, and the artwork rules that keep a raised logo legible at 5 mm.
Quick answer: specify embossed glass bottles when you want a permanent, print-free brand mark that survives alcohol, abrasion, and repeated refill — and you can fund one mold engraving. Specify printing, hot stamping or a label instead if you need multi-colour graphics, tight copy, or you are testing a market with a first run under 5,000 pieces.
Best of both: emboss the base or shoulder with the brand mark, then print the front panel with the claims that change. You keep the durable signature and pay printing costs only on the copy that needs it.

How Are Glass Bottles Embossed?
On a modern IS machine, a gob of glass is first shaped into a parison, then blown against the inner wall of the body mold. Any engraving on that inner wall leaves a negative cavity, and the bottle takes it up as a raised positive. The relief on the finished bottle is therefore a mirror image of the engraving — which is why depth, edge sharpness and draft angle all have to be cut correctly the first time. Once the mold exists, the mark costs nothing extra per bottle.
There are two production routes, and the choice drives almost everything else in the quotation:
- Engrave a new body mold — you get a new shape and an embossed mark designed for that shape. Highest tooling investment, highest MOQ, best shelf differentiation.
- Engrave an existing (stock) mold — the shape stays standard and the mark is cut where there is free space on the body or base. Lower tooling cost, lower MOQ, faster sampling, and the fastest route for a brand validating its first run.
A separate, secondary route exists as well: relief pressed onto finished bottles after forming. Glass is preheated to roughly 450°C–550°C so it softens enough to accept the die, then cooled and trimmed, as described in this industry explanation of glass bottle embossing. It allows deeper, more sculptural effects, but the extra thermal cycle is a stress risk on thin cosmetic bottles — worth asking about for caps and heavy-wall fragrance bottles, rarely worth it for a 10 mm shoulder.
The commercial direction is clear. Mordor Intelligence, in its United States glass packaging market analysis, names “innovative technologies for embossing, shaping and adding artistic finishes to glass” as a driver of end-user demand, with the US glass packaging market forecast to register a 3.8% CAGR over 2025–2030. Embossing is no longer a luxury add-on; it is how a standard bottle stops looking standard.
Embossed vs Debossed Glass Bottles: What Is the Difference?
Both are cut into the same mold; they simply push in opposite directions. Embossing raises the mark above the glass surface, debossing sinks it below. On a glass bottle the practical difference is lighting, label interaction and how the finish sits on top.
| Specification | Embossed | Debossed | Printed / hot-stamped logo |
|---|---|---|---|
| Surface | Raised above the body | Recessed into the body | Flat ink or foil layer |
| How it is made | Positive cut into the mold cavity | Negative cut into the mold cavity | Post-production decoration |
| Durability | Permanent — it is the glass itself | Permanent, but fills with dust | Can wear, chip or lift with solvent |
| Readability | Strong in raking light; reads in reflection | Only readable when filled with colour | High contrast, exact brand colour |
| Mold impact | Extra engraving hours; needs draft | Extra engraving hours; traps coating | No mold change |
| Cost per bottle | Zero after tooling | Zero after tooling | Recurring, per piece and per colour |
| Best for | Perfume, spirits, premium skincare | Volume markings, subtle crests | Small text, multi-colour artwork, claims |
Rule of thumb: emboss the identity, print the information. A raised mark reads first from two metres away on a shelf; a 6 pt ingredient line never will.
Where Should the Embossed Logo Sit on the Bottle?
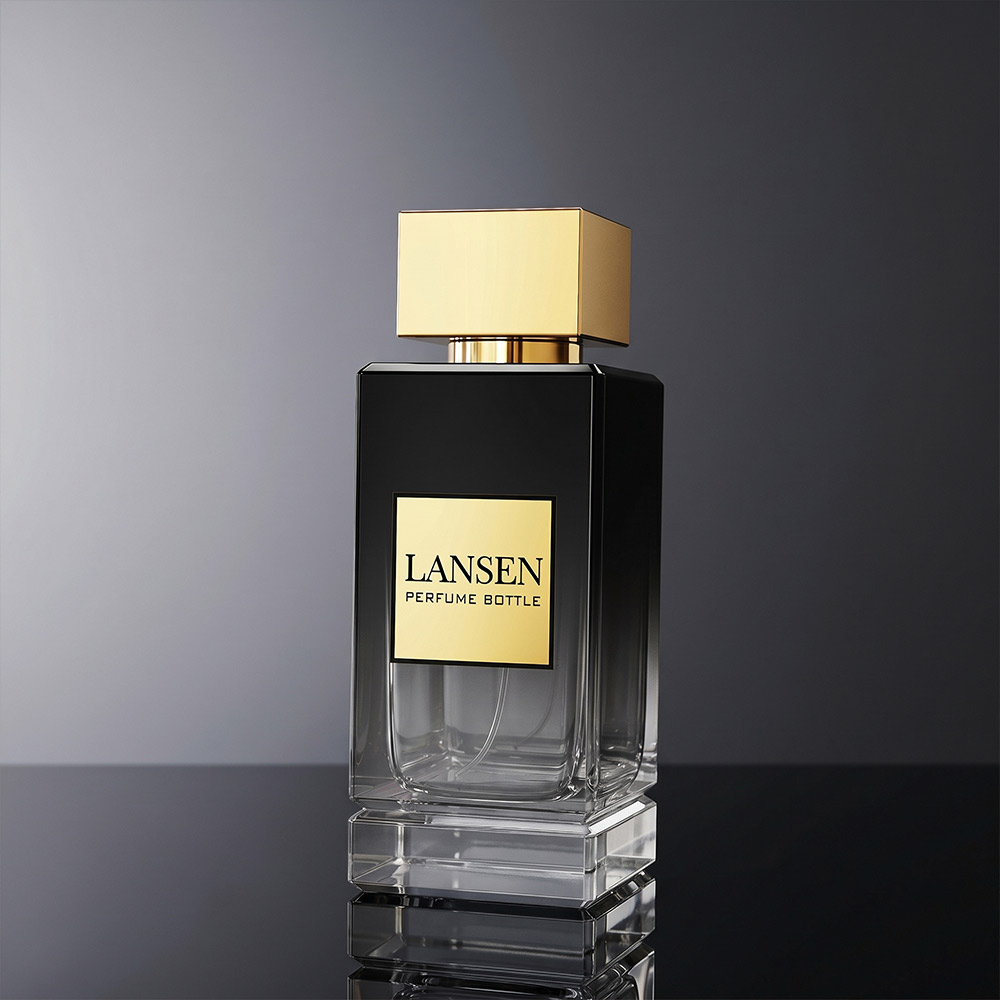
Placement decides whether the mark survives the mold. The four positions buyers ask about behave very differently:
- Front body panel. The strongest shelf signal and the safest to engrave, provided the panel is flat or gently curved. This is where most custom glass perfume bottles carry their house name.
- Shoulder. Highly visible when the bottle stands on a shelf, but the hardest area to release from the mold because the wall is already curving. Shoulder relief needs generous draft and a shallower depth than the body.
- Base. The cheapest option and the most forgiving: the base is flat, it is out of sight when the bottle is filled, and the mark still proves the bottle is yours to anyone who turns it over. Popular with glass essential oil bottles and roll-ons where the body is reserved for regulation text.
- Closure and cap. A separate component and often a separate mold — coordinate the two. Heavy zamac or Surlyn caps are usually the right place for sculpted relief, while the glass body takes a quieter mark.
Two placement traps cause most reworks: engraving across the parting line (the seam where the two mold halves meet), which splits the relief, and embossing a full ring around a thin-walled square bottle, which concentrates stress at the corners. Keep at least 3 mm of clear glass between the mark and the seam, the neck thread, or any radius.
What Do Custom Embossed Glass Bottles Cost, and What Is the MOQ?
Glass packaging numbers to plan around
- 3.8% — forecast CAGR of the US glass packaging market, 2025–2030, with embossing and artistic finishes named among demand drivers (Mordor Intelligence).
- 450–550°C — preheat range for secondary hot-pressed relief applied to formed bottles (industry process reference).
- 80% — share of recovered glass that goes back into new glass containers, the reason a heavier embossed bottle can still be a sustainability story (Mordor Intelligence).
Embossing does not add a decoration line to the invoice; it adds engraving time to the mold and one more check at sampling. Four inputs move the number:
- New mold or stock mold engraving. Cutting a mark into a mold the factory already runs is the single biggest cost saving available to a first-time buyer. It also keeps your MOQ in the low thousands instead of the tens of thousands.
- Relief complexity. A single-line wordmark engraves quickly. Fine patterned texture, multi-level relief or a sculpted crest is measured in engraving hours and adds both tooling cost and sample rounds.
- Cavity count. More cavities per mold means more engravings to cut, and the MOQ rises with the run length each cavity needs to be economical.
- Glass quality and wall. Cosmetic high-white glass and thick-walled fragrance bodies hold a crisper relief edge than thin, economical bodies — and they carry a higher minimum because of the furnace run.
In our plant, engraving a stock mold makes embossed work viable from roughly 5,000–10,000 pieces, while a brand-new shape with a bespoke emboss starts around 20,000–30,000 pieces depending on cavity count and weight. Confirm the exact figure against your mould plan before you commit — the full sequence is on our custom bottle development page. Lead time is driven less by the engraving itself than by the sample loop: every relief change after the first physical sample means re-cutting, and that is the date worth protecting in your launch plan.
Artwork Rules: How to Pass the First Embossed Sample
Most embossed projects fail on artwork, not on the furnace. These are the working limits our tooling team applies before a cavity is engraved — your final values are confirmed on the 3D drawing and then on a physical sample.
- Relief depth 0.3–0.6 mm. Deeper relief looks impressive on a mockup and turns into a mold-release problem on the machine; shallower relief disappears under frosting or colour spray.
- Minimum letter height around 4 mm for a mark meant to be read at arm’s length. Below that, the glass surface tension rounds the letter edges and the word reads as a smudge.
- No hairline serifs or strokes under 0.4 mm. Glass cannot hold a sub-millimetre edge reliably in production; switch to a bolder cut or a different typeface.
- 10–15° draft on raised side walls. Straight-sided relief grips the mold and pulls glass away with it.
- Stroke spacing at least 1.5× the stroke width. Letters that are too close bridge together and the word becomes a bar.
- Flat or gently curved panels only. Relief on a tight radius distorts, and text wrapped around a shoulder will never align to the label.
- Vector artwork plus a 3D render before cutting. Approve the render for composition, then approve a physical sample for depth — they answer different questions.
- Decide the finish at the same time. Frosting and spraying both change how the relief reads, so the mold and the finish must be signed off together.
Combining Embossing With Frosting, Colour Spray, Hot Stamping and 3D Printing
Embossed glass bottles rarely ship alone, and the finish on top is what decides whether the relief looks premium or accidental.
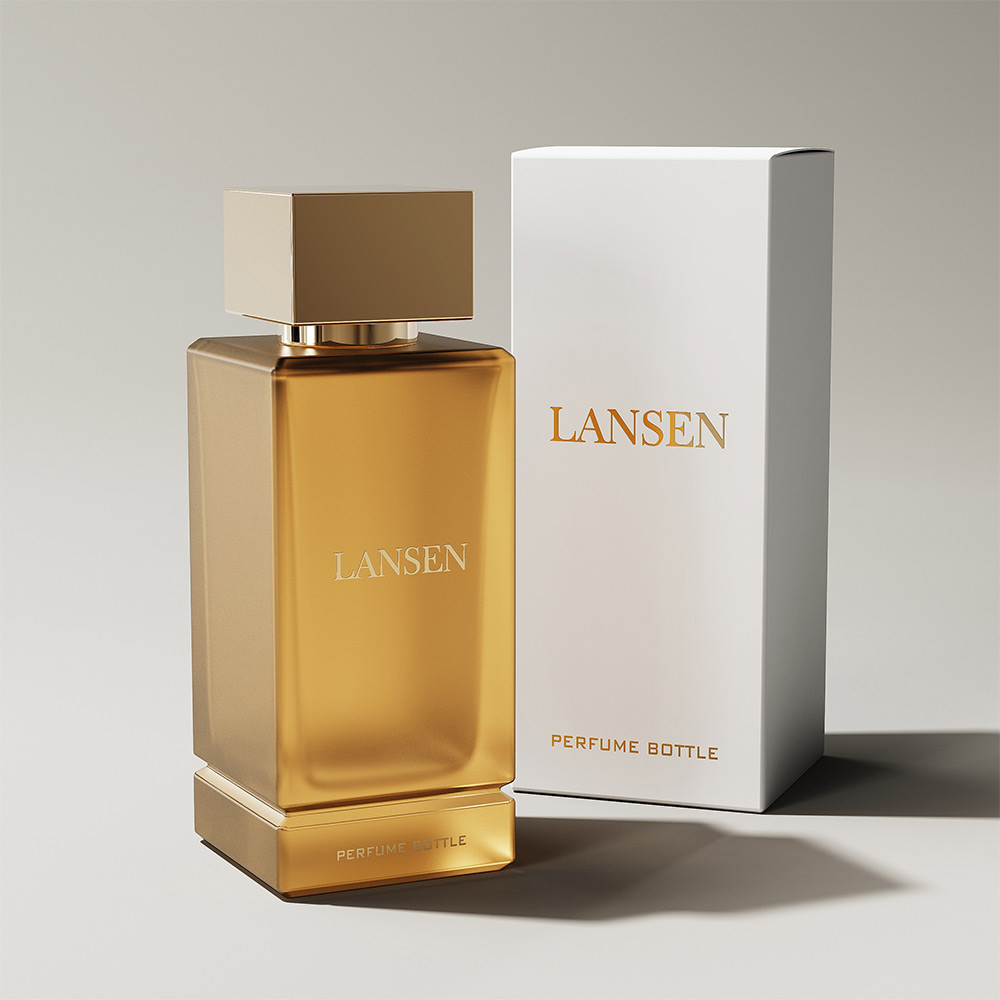
- Frosted finish + emboss — the most elegant combination and the least contrast: the raised mark reads only in raking light. Add depth rather than height if you choose this route.
- Colour spraying + emboss — spray highlights the relief edge because coating thins on the crest. Heavy coats round the edge off; specify a light build on embossed panels.
- Hot stamping on relief — foil tipped onto the top face of the raised mark creates a metal-edged emboss. High perceived value, and it needs the relief to be wide enough to hold foil.
- Raised 3D printing next to relief — the practical way to add a second colour or a small secondary mark without a second engraving.
- Custom glass colour + emboss — dark or amber glass hides a shallow emboss unless it is backlit; specify deeper relief on dark bodies.
For a fragrance launch the strongest and most economical structure is usually an embossed base or back panel carrying the house mark, a frosted or sprayed body, and a hot-stamped or printed front label for the scent name. You get permanent brand ownership plus the flexibility to change copy — and you avoid paying a second engraving when the product line expands.
Next Step: Get the Emboss Tested Before the Mold Is Cut
Embossing is one of the few packaging decisions where the cheapest moment to be wrong is before the engraving starts. Send us your artwork and bottle reference and we will confirm relief depth, letter minimums, mold route (stock or new), MOQ band and a realistic sample date — with a 3D drawing back to you before any steel is cut. If you are still deciding between a custom shape and a decorated stock bottle, we will price both on the same brief so the comparison is like for like.
Send your logo file and target volume — you will get relief and MOQ feedback within one working day.